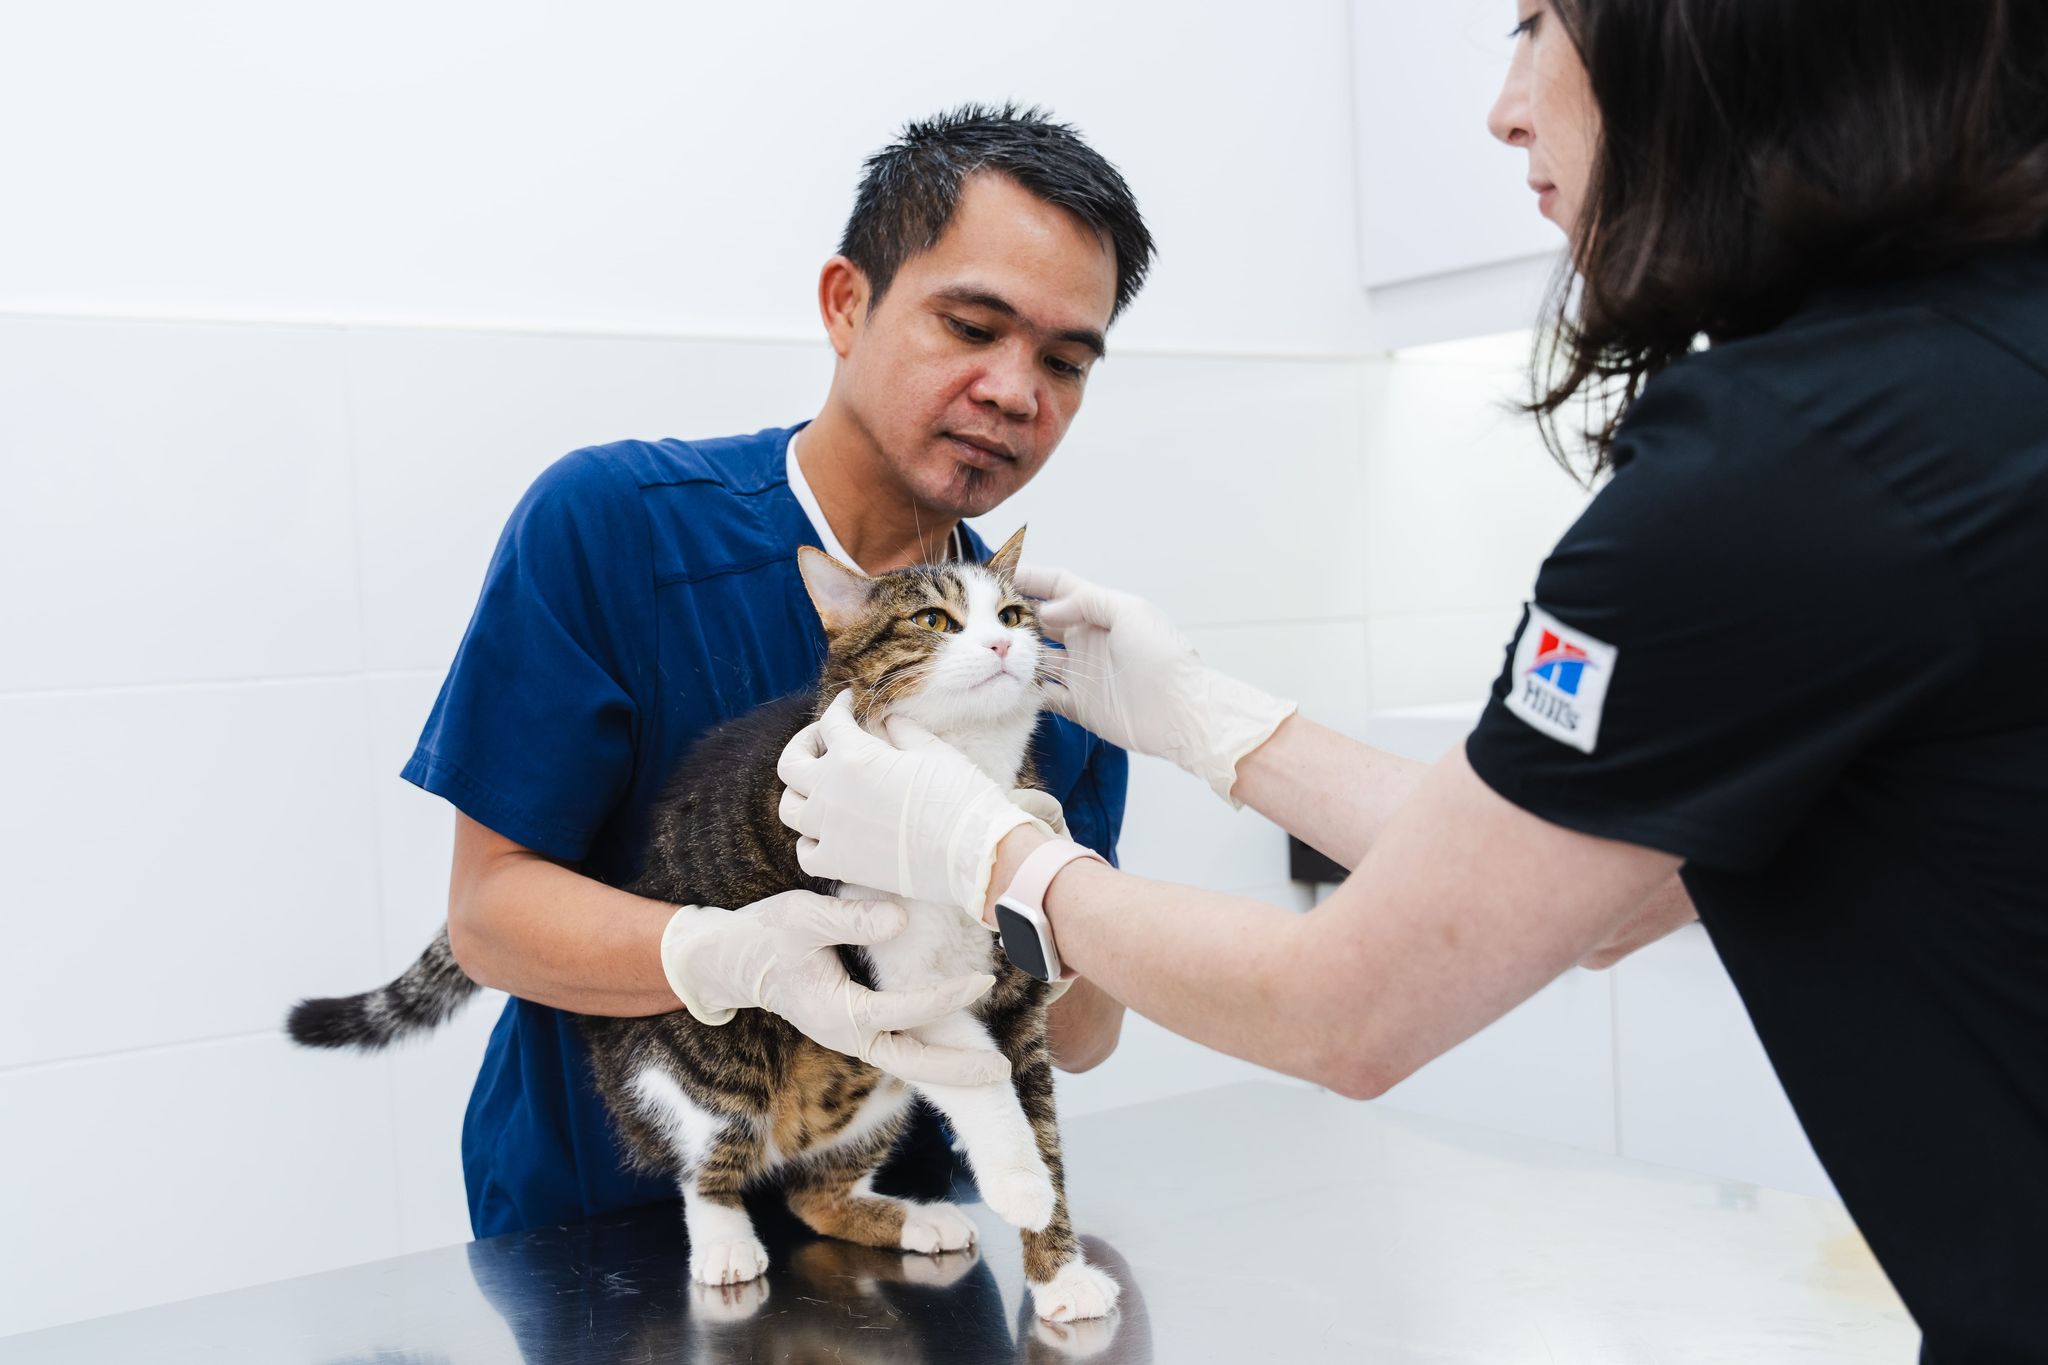
Cats are natural groomers who always want to stay clean. However, it doesn’t mean that they don’t appreciate a helping hand. From removing loose hair to clipping their nails, there are times when pet owners need to step in.
But that’s not all. There are a lot of things to consider when cleaning your cat. Every inch of its body must be given the same amount of care. When done well, cats become healthy and happy.
With that, this guide aims to help you know how to clean your cat so you can help your best friend become the happiest they can be.
A cat’s skin is sensitive, which means issues such as dandruff, dryness, and other skin conditions can bring trouble. Regularly cleaning your cat can help remove dirt, debris, loose hair, and other allergens that might lead to some uncomfortable allergic reactions.
Cats also have thick fur, which can sometimes hide several issues. Keeping your cat’s skin and coat healthy allows you to do a quick check on its condition. You can identify areas of irritation, inflammation, and hair loss.
Reduces Shedding and Hairballs
Cats constantly shed hair, especially during seasonal changes. That loose hair often ends up on your clothes, furniture, floors, and many other inconvenient areas. But most of all, these can get inside your cat’s digestive tract when they groom themselves.
This leads to hairballs, which can cause some serious gastrointestinal issues. By regularly brushing, you can remove dead hair while also spreading your cat's natural oils across its body. Less fur buildup means fewer messes.
Prevents Parasites and Infections
External parasites such as fleas, ticks, and mites love to stay in a cat’s skin and coat. These parasites feed on your cat’s blood and dander, bringing with them some destructive diseases. They can also transmit several pathogens, which can lead to bacterial and fungal infections.
Ear mites are a common enemy, as they can cause immense pain, irritation, and itching. An easy way to prevent this is by regularly cleaning your cat. This helps remove parasites easily while also avoiding the risk of infections.
Reduces Bad Odors
Cleaning dirty fur, ears, and paws can remove some unpleasant odors. This helps cats stay fresh and pleasant for cuddles. Additionally, strong odors usually signal some significant issues, so taking care of the smell will eventually mean dealing with the problem.
Improves Your Cat’s Behavior
Cats often act out when they’re uncomfortable. A period of matted fur, itchy ears, and dirty skin can lead to stress and anxiety. Stressed cats are more likely to scratch their skin, hide under sofas, or act out aggressively.
When you clean your cat, you’re also making sure they are physically and emotionally comfortable. Their behavior drastically improves when they’re not dealing with the constant pain and irritation.
Creates a Strong Bond
Trust is everything in a cat-to-owner relationship. Gentle grooming is a way to tell your cat that you care about them. It’s an activity that becomes a shared routine, a quiet interaction that strengthens your connection with one another.
Now that we know its importance, we can proceed to the steps on how to clean a cat. The steps are ordered from dry to wet procedures, making sure your cat stays comfortable all throughout.
Step 1: Brush the Coat
Every grooming routine starts with cleaning cat hair. This begins with brushing, a simple way to clear the fur of loose hair, debris, dirt, and tangles. Start with a brush that suits your cat's coat.
Coat Type
Brushes/Combs
Short
Rubber Brush
Bristle Brush
Long
Slicker Brush
Metal Comb
To start, choose a time when your cat is relaxed. The place must also be quiet and calm. Slowly introduce the brush and begin with gentle strokes along the back and sides of your cat's body. Once your cat has gotten used to it, move on to the other parts like the belly, chest, legs, and tail.
Don't pull the brush too hard, and be extra gentle. Make sure your cat is comfortable all throughout the process. A session of 5 to 10 minutes is plenty and enough to do this. Finish the routine with a cat treat or praise to reinforce your cat with positivity. We recommend brushing your cat 2 to 3 times a week if it has short hair. If you have a long-haired cat, brush it daily.
Step 2: Trim the Nails
Trim the nails regularly to prevent overgrowth. By doing so, you can prevent a lot of injuries and accidents when they play, climb, or scratch. This is usually done after brushing, as it can be stressful for some cats.
But first, choose the most appropriate nail clippers that are safe for your cat.
Scissor-style clippers
Guillotine-style clippers
Cat-specific clippers
Feel free to use what’s best for you and your cat, just make sure to avoid clippers meant for humans. Aside from the clippers themselves, have styptic powder or cornstarch nearby in case you accidentally cut the sensitive part of their nails. This is called the quick, the pinkish area of the nails.
We recommend finding a quiet place for the process. Keep your cat wrapped in a soft towel to keep them still. Hold one paw and gently press on the pad to extend the claws. Just trim the sharp tip and never go to the pink area.
This can take a long time, as cats can feel stressed during the process. Because of this, it's crucial to take breaks. Nail trimming should be done every 3 to 4 weeks, or if your cat needs it.
Step 3: Wipe the Paws
Now that the nails are trimmed, it's time to clean the paws. Just prepare a clean, damp cloth or some pet-safe wipes. Next, wipe your cat's paw pads and the areas between the toes.
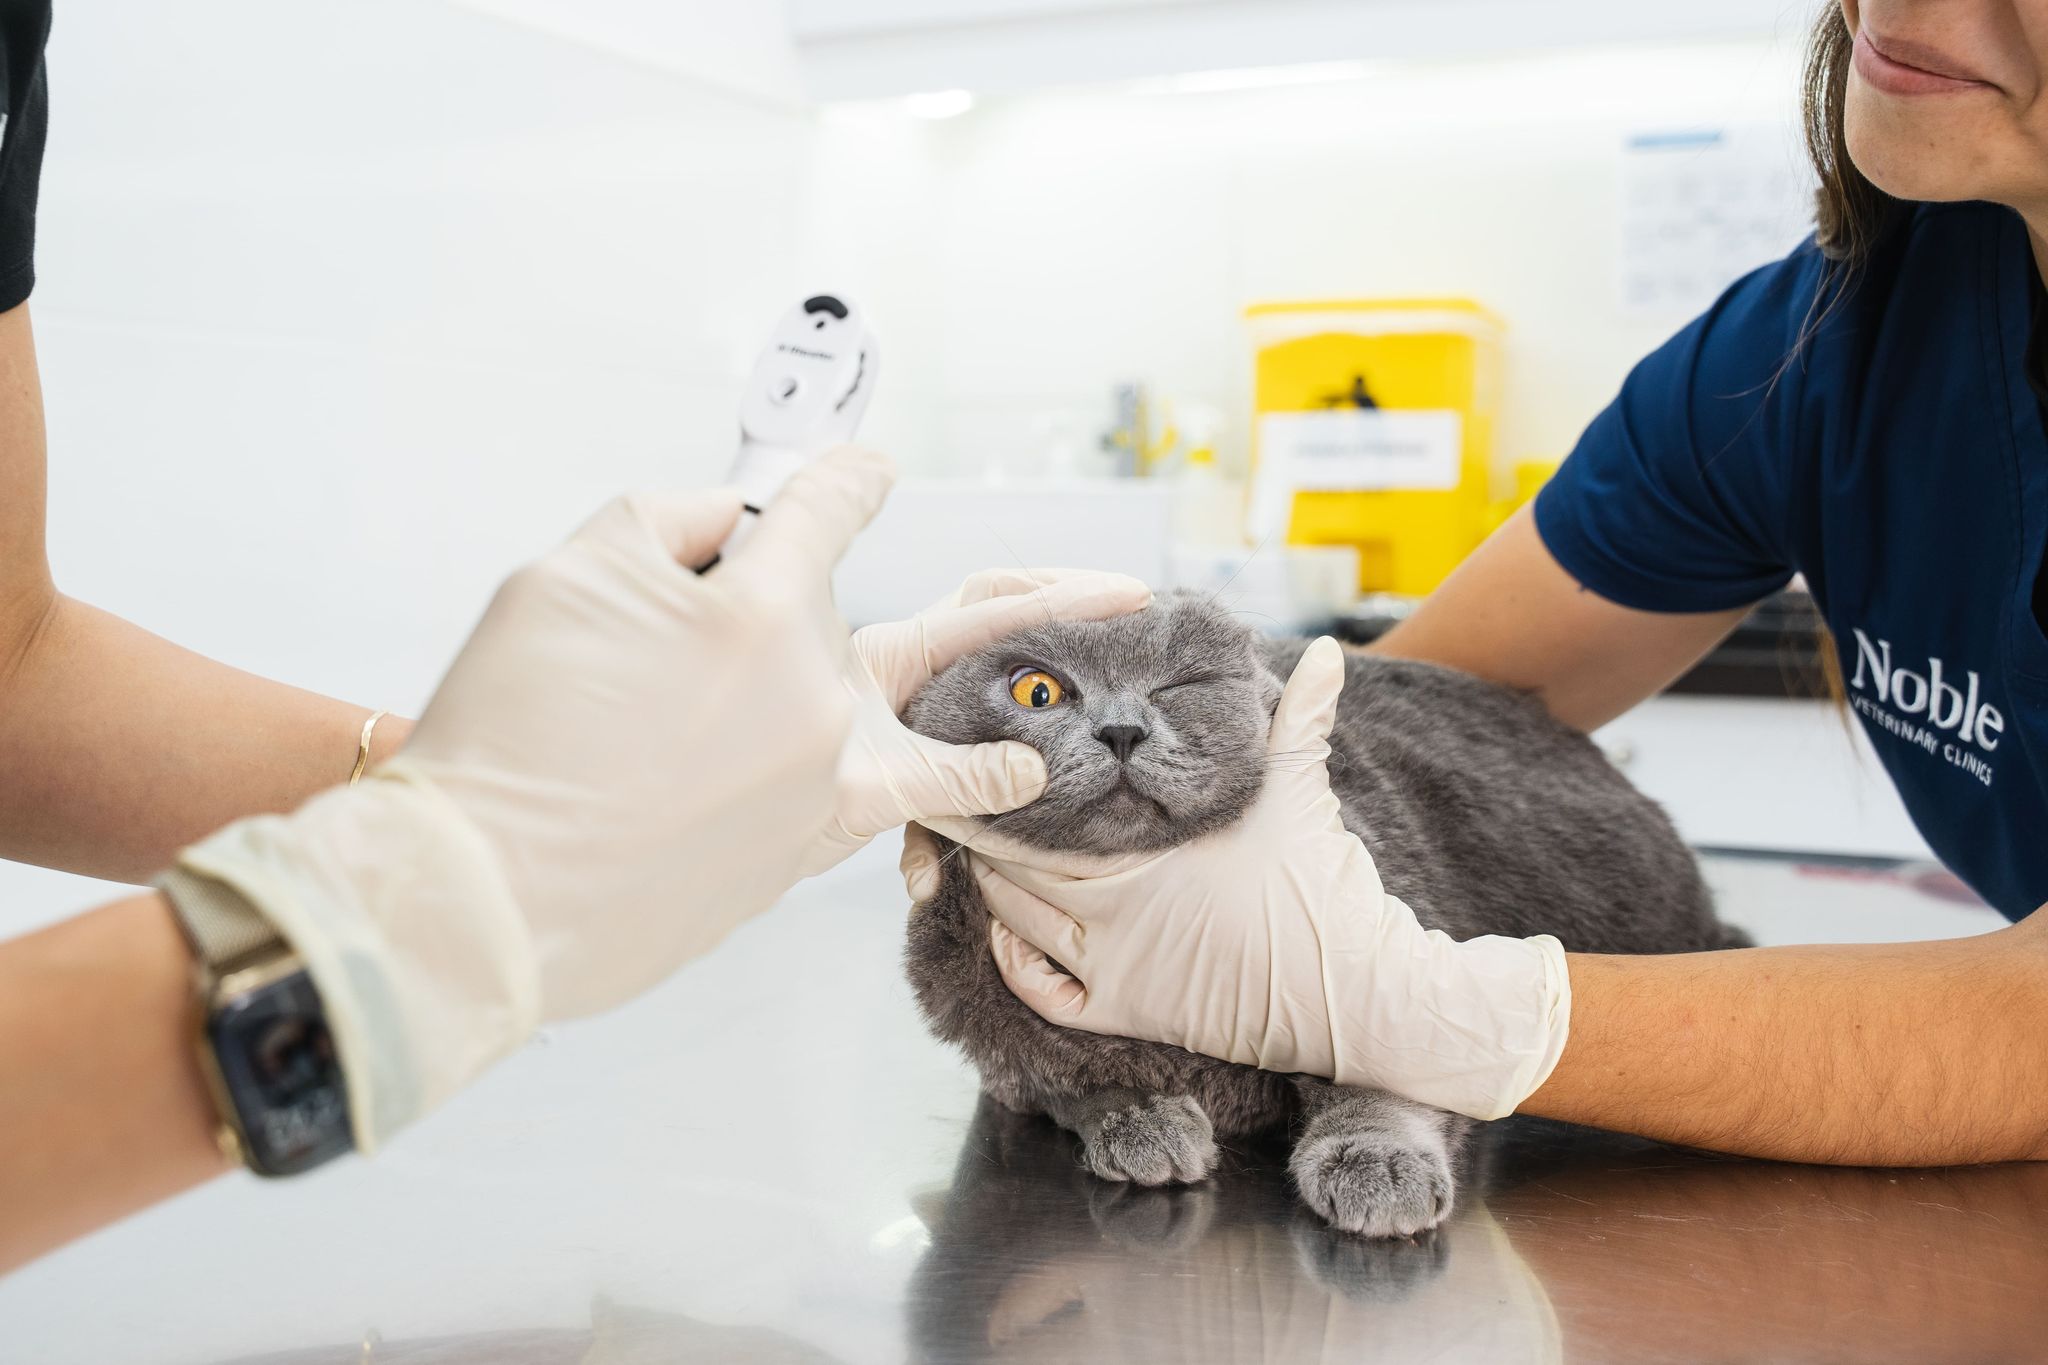
Step 4: Clean the Ears
Cleaning a cat's ears prevents the buildup of wax, irritation, and ear infections. Since their ears are prone to moisture buildup, they are a hotspot for bacterial and fungal growth.
Use a vet-approved cleaning solution along with some cotton balls or gauze for the job. Don’t use cotton swabs as they can push debris deeper in the ear and even damage the ear canal. Just like for every process, ear cleaning should be done in a quiet place.
Gently lift one ear and apply the cleaning solution. This should enter the ear canal. For some cats, we recommend wrapping them with a towel as they might get startled by the application of the cleaning solution.
Massage the base of the ear for 10 to 15 seconds to soften up the dirt and debris. After, you can now use the cotton balls or gauze to wipe the ears. Repeat the process on the other ear and be sure to check for any signs of redness or irritation during the entire cleaning routine.
Knowing how to clean your cat’s ears is a fundamental step in the grooming process. For most cats, regular ear cleaning at home can be done once every month, but it all depends on your cat’s condition.
Step 5: Wipe the Eyes
Cleaning your cat’s eyes helps prevent irritation, tear stains, and mild infections. This is helpful for cats who have flatter faces or watery eyes. To know how to clean your cat’s eyes, start by gathering the necessary materials.
You’ll need a soft, damp cloth or cotton balls with warm water. You can also use a vet-approved eye rinsing solution. Never use soap, as this can irritate your cat’s eyes.
You should start by helping your cat feel comfortable. Proceed by gently wiping the inner corner of the eye, going in an outward motion. Use soft strokes slowly and never press against the eyes. If there is any crusting, then hold the damp pad in place for a few seconds.
Do the same for the second eye. While cleaning, be sure to check for any signs of an eye infection. Look out for redness, swelling, itching, or discharge. Cleaning can be done as needed. But you should always check your cat's eyes at least once a week.
Step 6: Brush the Teeth
Having a good dental brushing routine helps avoid the buildup of plaque and tartar. This prevents problems such as gum disease, bad breath, and several other dental issues common in cats. Use a cat-specific toothbrush or a finger brush, and always use vet-approved cat toothpaste.
After keeping your cat comfortable, gently lift their lip and brush in small, circular motions along the gumline. Focus on the outside surfaces of the teeth. Do this slowly and gently to help your cat get used to it.
Once your cat has calmed down, you can proceed to the other parts of the teeth and finish the process. Cleaning your cat’s teeth should be done daily, but 2 to 3 times a week is also a good option.
Step 7: Bathe Your Cat
This last step is optional and not generally required, especially since cats seldom need baths. However, it’s still good to bathe your cat if they have become very dirty or messy. A bath is also good for cats who have skin problems and need a medicated bath as part of the treatment.
Since bathing can be stressful for cats, this step is usually done last after all the other procedures. To wash your cat, start by gathering the necessities: a cat-specific shampoo, a handheld sprayer, a non-slip mat, and some towels. If you don’t have a sprayer, then use a cup.
Place the mat on the bathing area and gently spray your cat with water. If you don’t have it, fill a sink or tub that fits your cat with water. Place the non-slip mat or towel on it. This gives them a place to grip on when they get stressed or startled.
Here, you can use the sprayer or cup to pour water all over its body except the head. Once it’s soaked, lather the shampoo on your cat’s body and fur. Next, you can now rinse away the shampoo entirely. This is how you can clean your cat’s hair.
After rinsing, place your cat on a towel and dry them thoroughly. We recommend wrapping them and pat drying, as rubbing might be stressful for them. If they tolerate it, use a hair dryer with the lowest heat setting possible.
For the final step, give them a quiet place to relax and a few treats to improve their mood. Remember, bathing should only be done when needed or as advised by our vets.
“A healthy cat isn’t just clean, it’s cared for and loved.”
- Dr. Paulina Czerska
Final Thoughts
Knowing how to clean your cat starts with getting used to the basics. By consistently following a smart routine, you can make this activity a way to bond with your cat and protect it from several skin issues. You’re building trust and protection, all in one go.
If you need help, then our vets will provide all the advice and services you need to get started. Preventive care is always the best option.
Vet Tips: How to Clean Your Cat
Now that we know its importance, we can proceed to the steps on how to clean a cat. The steps are ordered from dry to wet procedures, making sure your cat stays comfortable all throughout.
Step 1: Brush the Coat
Every grooming routine starts with cleaning cat hair. This begins with brushing, a simple way to clear the fur of loose hair, debris, dirt, and tangles. Start with a brush that suits your cat's coat.
Coat Type
Brushes/Combs
Short
Rubber Brush
Bristle Brush
Long
Slicker Brush
Metal Comb
To start, choose a time when your cat is relaxed. The place must also be quiet and calm. Slowly introduce the brush and begin with gentle strokes along the back and sides of your cat's body. Once your cat has gotten used to it, move on to the other parts like the belly, chest, legs, and tail.
Don't pull the brush too hard, and be extra gentle. Make sure your cat is comfortable all throughout the process. A session of 5 to 10 minutes is plenty and enough to do this. Finish the routine with a cat treat or praise to reinforce your cat with positivity. We recommend brushing your cat 2 to 3 times a week if it has short hair. If you have a long-haired cat, brush it daily.
Step 2: Trim the Nails
Trim the nails regularly to prevent overgrowth. By doing so, you can prevent a lot of injuries and accidents when they play, climb, or scratch. This is usually done after brushing, as it can be stressful for some cats.
But first, choose the most appropriate nail clippers that are safe for your cat.
Scissor-style clippers
Guillotine-style clippers
Cat-specific clippers
Feel free to use what’s best for you and your cat, just make sure to avoid clippers meant for humans. Aside from the clippers themselves, have styptic powder or cornstarch nearby in case you accidentally cut the sensitive part of their nails. This is called the quick, the pinkish area of the nails.
We recommend finding a quiet place for the process. Keep your cat wrapped in a soft towel to keep them still. Hold one paw and gently press on the pad to extend the claws. Just trim the sharp tip and never go to the pink area.
This can take a long time, as cats can feel stressed during the process. Because of this, it's crucial to take breaks. Nail trimming should be done every 3 to 4 weeks, or if your cat needs it.
Step 3: Wipe the Paws
Now that the nails are trimmed, it's time to clean the paws. Just prepare a clean, damp cloth or some pet-safe wipes. Next, wipe your cat's paw pads and the areas between the toes.
Step 4: Clean the Ears
Cleaning a cat's ears prevents the buildup of wax, irritation, and ear infections. Since their ears are prone to moisture buildup, they are a hotspot for bacterial and fungal growth.
Use a vet-approved cleaning solution along with some cotton balls or gauze for the job. Don’t use cotton swabs as they can push debris deeper in the ear and even damage the ear canal. Just like for every process, ear cleaning should be done in a quiet place.
Gently lift one ear and apply the cleaning solution. This should enter the ear canal. For some cats, we recommend wrapping them with a towel as they might get startled by the application of the cleaning solution.
Massage the base of the ear for 10 to 15 seconds to soften up the dirt and debris. After, you can now use the cotton balls or gauze to wipe the ears. Repeat the process on the other ear and be sure to check for any signs of redness or irritation during the entire cleaning routine.
Knowing how to clean your cat’s ears is a fundamental step in the grooming process. For most cats, regular ear cleaning at home can be done once every month, but it all depends on your cat’s condition.
Step 5: Wipe the Eyes
Cleaning your cat’s eyes helps prevent irritation, tear stains, and mild infections. This is helpful for cats who have flatter faces or watery eyes. To know how to clean your cat’s eyes, start by gathering the necessary materials.
You’ll need a soft, damp cloth or cotton balls with warm water. You can also use a vet-approved eye rinsing solution. Never use soap, as this can irritate your cat’s eyes.
You should start by helping your cat feel comfortable. Proceed by gently wiping the inner corner of the eye, going in an outward motion. Use soft strokes slowly and never press against the eyes. If there is any crusting, then hold the damp pad in place for a few seconds.
Do the same for the second eye. While cleaning, be sure to check for any signs of an eye infection. Look out for redness, swelling, itching, or discharge. Cleaning can be done as needed. But you should always check your cat's eyes at least once a week.
Step 6: Brush the Teeth
Having a good dental brushing routine helps avoid the buildup of plaque and tartar. This prevents problems such as gum disease, bad breath, and several other dental issues common in cats. Use a cat-specific toothbrush or a finger brush, and always use vet-approved cat toothpaste.
After keeping your cat comfortable, gently lift their lip and brush in small, circular motions along the gumline. Focus on the outside surfaces of the teeth. Do this slowly and gently to help your cat get used to it.
Once your cat has calmed down, you can proceed to the other parts of the teeth and finish the process. Cleaning your cat’s teeth should be done daily, but 2 to 3 times a week is also a good option.
Step 7: Bathe Your Cat
This last step is optional and not generally required, especially since cats seldom need baths. However, it’s still good to bathe your cat if they have become very dirty or messy. A bath is also good for cats who have skin problems and need a medicated bath as part of the treatment.
Since bathing can be stressful for cats, this step is usually done last after all the other procedures. To wash your cat, start by gathering the necessities: a cat-specific shampoo, a handheld sprayer, a non-slip mat, and some towels. If you don’t have a sprayer, then use a cup.
Place the mat on the bathing area and gently spray your cat with water. If you don’t have it, fill a sink or tub that fits your cat with water. Place the non-slip mat or towel on it. This gives them a place to grip on when they get stressed or startled.
Here, you can use the sprayer or cup to pour water all over its body except the head. Once it’s soaked, lather the shampoo on your cat’s body and fur. Next, you can now rinse away the shampoo entirely. This is how you can clean your cat’s hair.
After rinsing, place your cat on a towel and dry them thoroughly. We recommend wrapping them and pat drying, as rubbing might be stressful for them. If they tolerate it, use a hair dryer with the lowest heat setting possible.
For the final step, give them a quiet place to relax and a few treats to improve their mood. Remember, bathing should only be done when needed or as advised by our vets.
“A healthy cat isn’t just clean, it’s cared for and loved.”
- Dr. Paulina Czerska
Final Thoughts
Knowing how to clean your cat starts with getting used to the basics. By consistently following a smart routine, you can make this activity a way to bond with your cat and protect it from several skin issues. You’re building trust and protection, all in one go.
If you need help, then our vets will provide all the advice and services you need to get started. Preventive care is always the best option.